


Connecting a camera to a Raspberry Pi through the on-board camera port or USB port can assist in capturing images or videos. This setup can serve various purposes. In this repository, you can find a prebuilt shell script designed to facilitate continuous image streaming to online cloud services such as Google Drive for Linux-operated Raspberry Pi.
Use Cases
Online Stream of Camera
Frame Capture for Time-lapse
How to use
First, you should install dependencies like 'ffmpeg', 'rclone'. To do it use the command below:
sudo apt update && sudo apt install ffmpeg rclone
After that, you should configure your cloud service, which here we continue with the Google Drive option. I suggest to use this two complete tutorials for proper configuration:
But simply to do that start with rclone, you should use the command below and follow the given instructions:
rclone config
Now, You should have a directory on your local device to sync Google Drive with it. Here we create a directory named /home/user/path/to/, to do this you can use this command:
mkdir /home/user/path/to
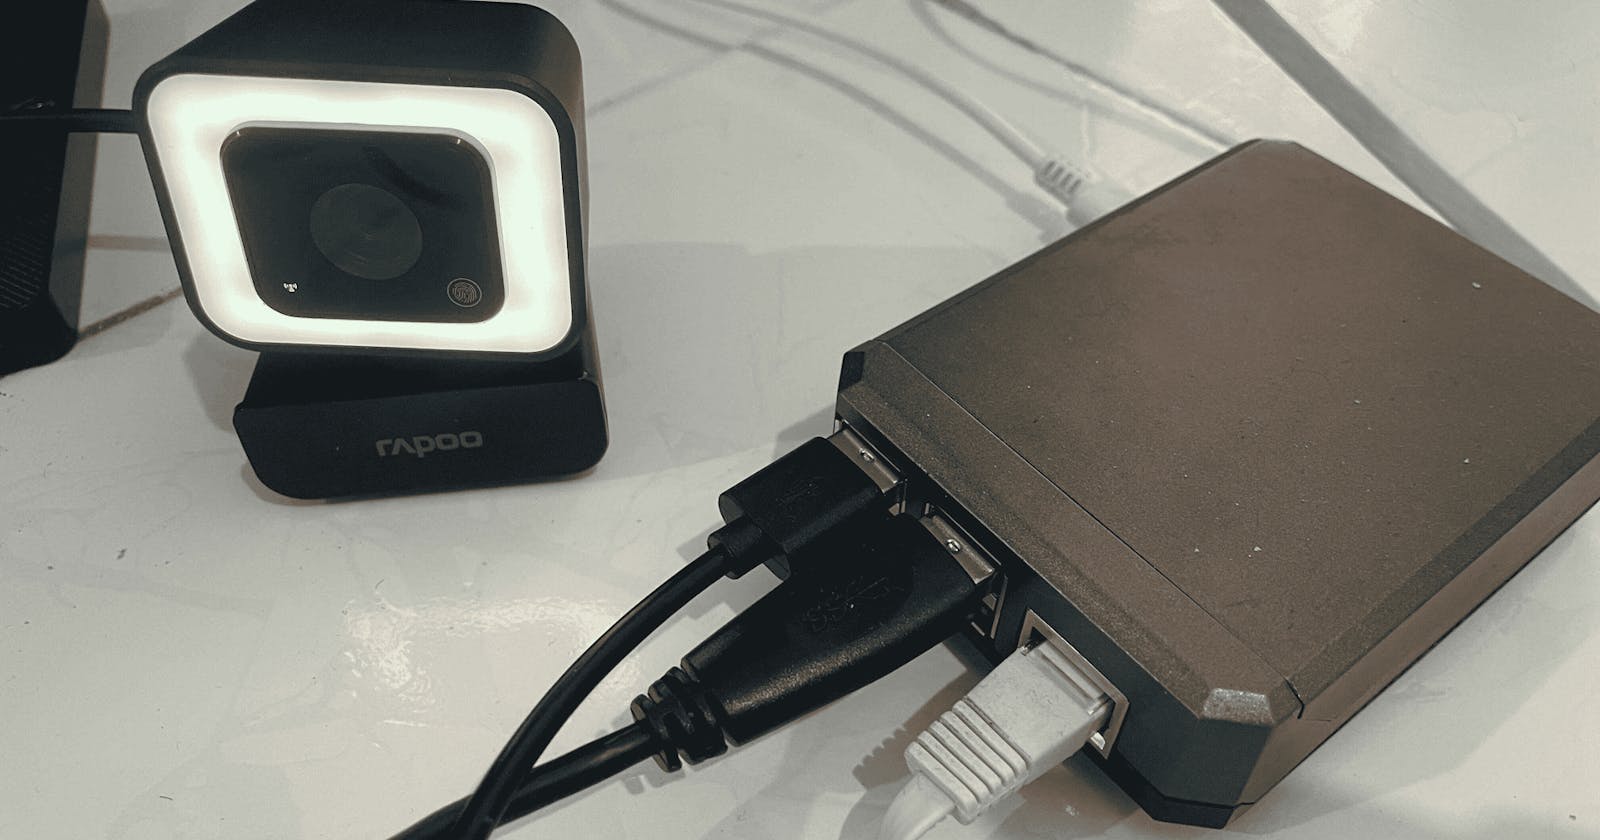
So, Time to configure a webcam or camera. Here I'm using a USB webcam but if you want to use the on-board Raspberry Pi camera follow this link.
Connect the USB webcam to Raspberry Pi and find the hardware directory which in this example is /dev/video0.
Awesome, All essential parts are configured. Now the script is ready for use.
Download the script file to your local machine:
curl -L https://raw.githubusercontent.com/mosnfar/raspberrypi4-camera-to-cloud/main/run.sh -o ./run.sh
Before using the script you should change some variables in the script to work correctly. Use nano run.sh to open text editor then go to 'Configure global variables' section and change the variable.
...

# Configure global variables

DRIVE_ADD="drive:/parentfolder/subfolder" #rclone given address for drive main folder and subfolder

STORE_DIR="/home/user/path/to/" #Local directory which will link to drive
LOG_DIR="/home/user/path/for/log/" #Directory to store log for command

CAMERA_ADD="/dev/video0" #Hardware directory for Video Input

DAY_OF_STORAGE=2 #Maximum date for storage - e.g. 2 days
MAX_STORAGE_SIZE=200000000 #Maximum size for storage - e.g. 200000000 Byte -> 200 MB

INTERVAL_DELAY=10 #Interval between taking frames - e.g. 10 seconds

MAX_RETRIES=10 #Times to rclone try

...
You should change these variables:
Essential Variables
Should change this before running this script according to your configuration.
DRIVE_ADD: The address to which you configure Google Drive with rclone command.
STORE_DIR: This directory will be connected to Drive and sync with it.
LOG_DIR: Where you want to store your system script logs and errors.
CAMERA_ADD: Hardware address of video input (webcam|camera) to use.
DAY_OF_STORAGE: By this variable, you can configure how many days should store the content.
MAX_STORAGE_SIZE: This variable manages Drive capacity and prevents extending from Google storage limit.
INTERVAL_DELAY: This is the gap time between taking frames.
Additional Variables
If you customize the script more, you can change this too.
- MAX_RETRIES: This variable defines how many times should rclone try.
Now everything is done and you should add run.sh command to system jobs to be run on every reboot. To do that use this command:
sudo chmod +x run.sh && (crontab -l ; echo "@reboot /real/path/to/run.sh") | crontab - && crontab -l
And its better to reboot your system.
🎉 It's Done. All is ready.
Find More
I hope this help you. You can subscribe to my yotube channel to find out more stuff which help you.
RESOURCES: Using USB Webcam, Use rclone for Google Drive, rclone, Google Drive