


A lot of tutorials to develop and run MicroPython on Raspberry Pico use an IDE called Thonny; even original Raspberry Pi Foundation tutorials. Thonny is a great simple IDE for getting the job done, especially for someone who started recently. But for me is a little inconvenient because for most of my other projects, I use VS Code and even I can connect it to Github easily. So here we will talk about how to connect Pico to VS Code.
Extentions
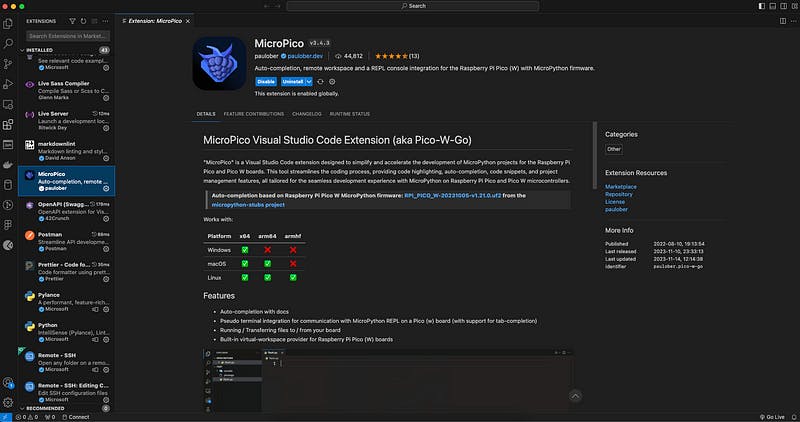
So, Let’s start with essential things. You need VS Code and extentions which I mentioned below:
After installing those extensions you should configure the project and connecting Pico.
Setup MicroPython
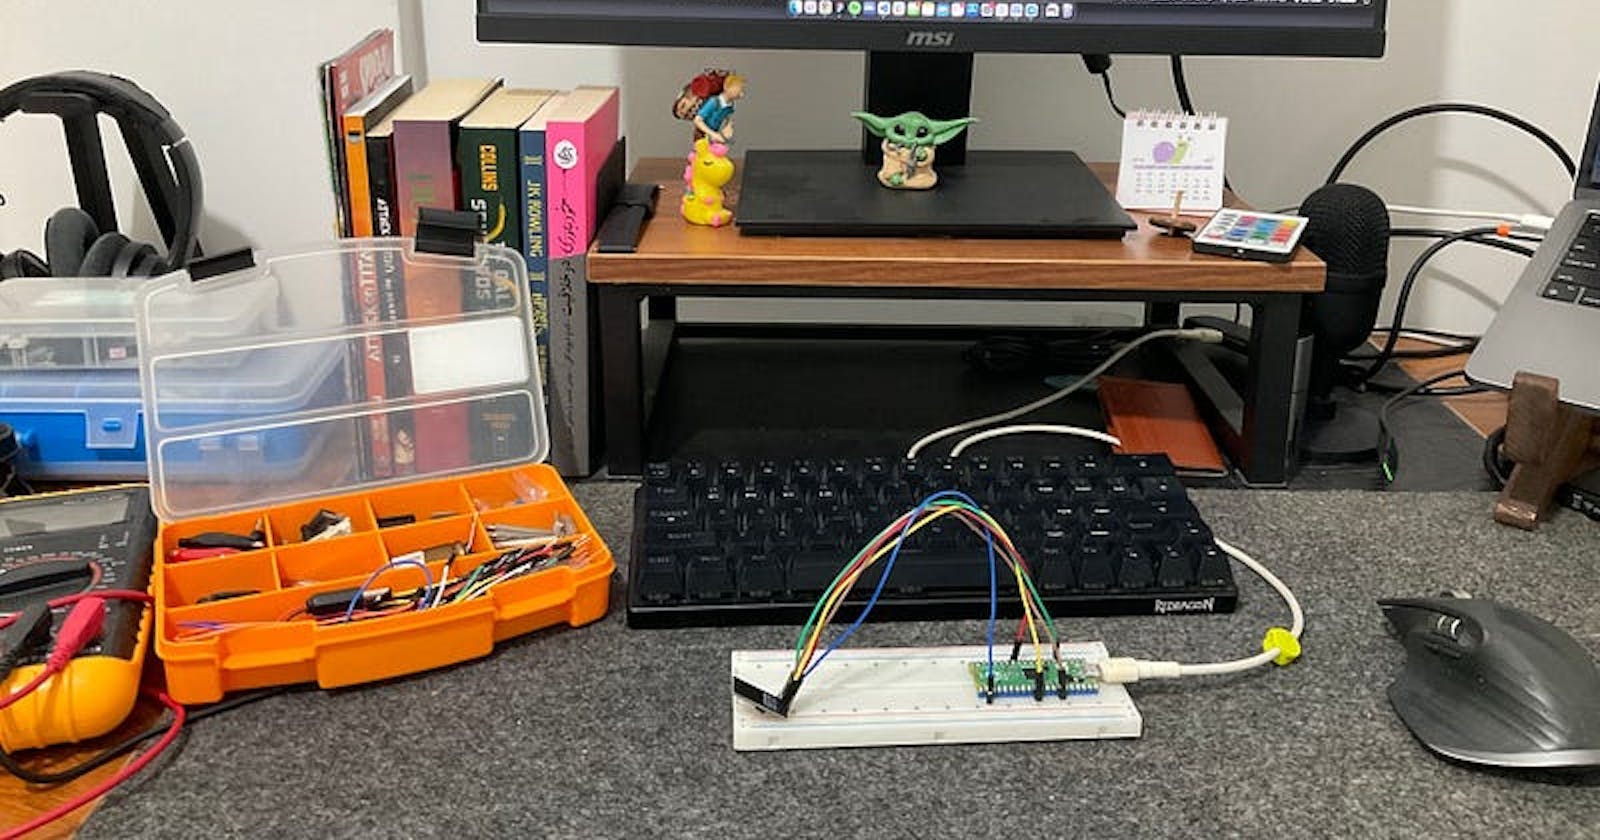
Now connect your Pico to computer through a USB cable.

So, let’s drag and drop MicroPython firmware (UF2) files into Raspberry Pi Pico.
First, you should download files from MicroPython site:
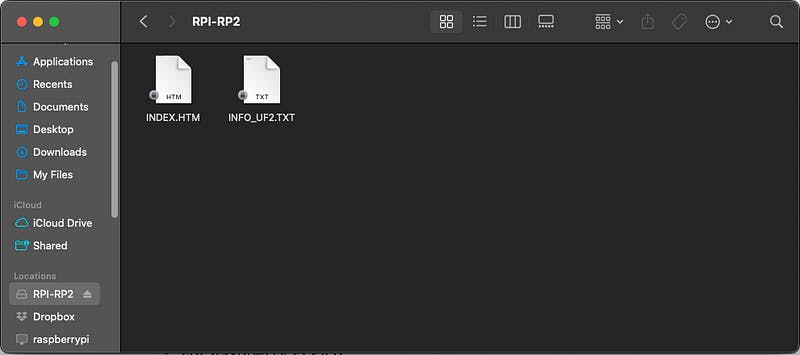
After downloading the suitable UF2 files for your Pico, Open file manager on your system and there is an external device mounted with “RPI-RP2” name. Now drag and drop your UF2 files into to mounted folder.
After that pico will be detached automatically, now we are ready to go back into VS Code.
If there was any problem you can read more about it on Raspberry Pi site.
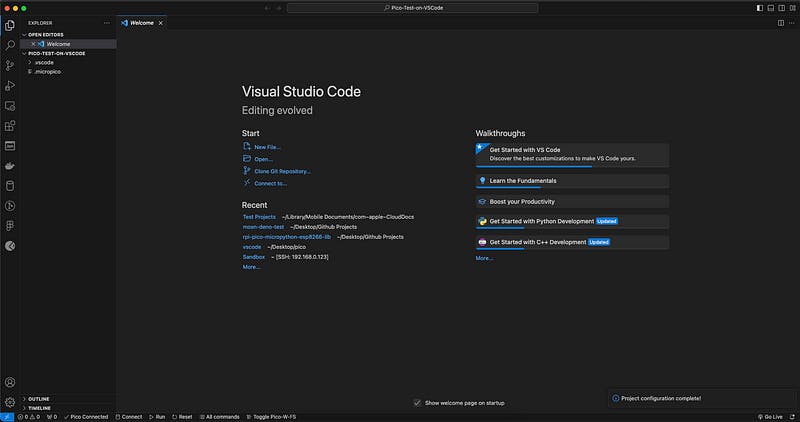
Configure Project
Here you should create or select a folder where you want your MicroPython files and Pico files to be stored.

After that should press “⌘ Command + Shift + P” on Mac and “Ctrl + Shift + P” on Windows to open “Show and Run Commands” in VS Code.
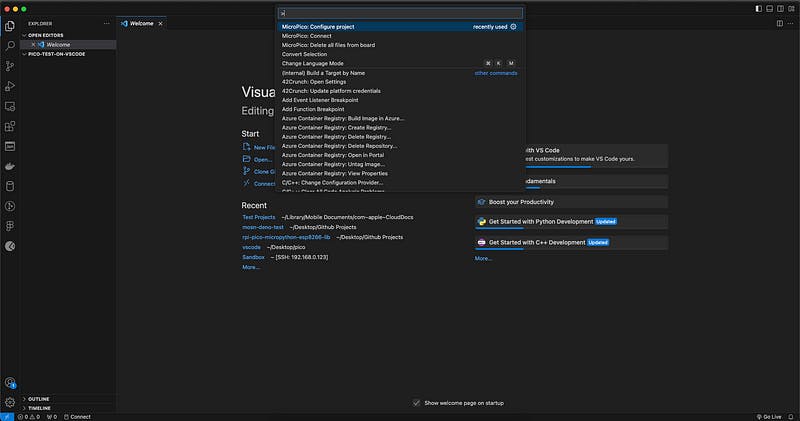
Then type “MicroPico: Configure project” and press “Enter”
Si Vola 🥳, Here you can see some hidden files added to folder and can see “Pico Connected” on left bottom.
To open Pico main folder click on “Toggle Pico-W-FS” at bottom and now you can see files on Pico and create new files on Pico directly.
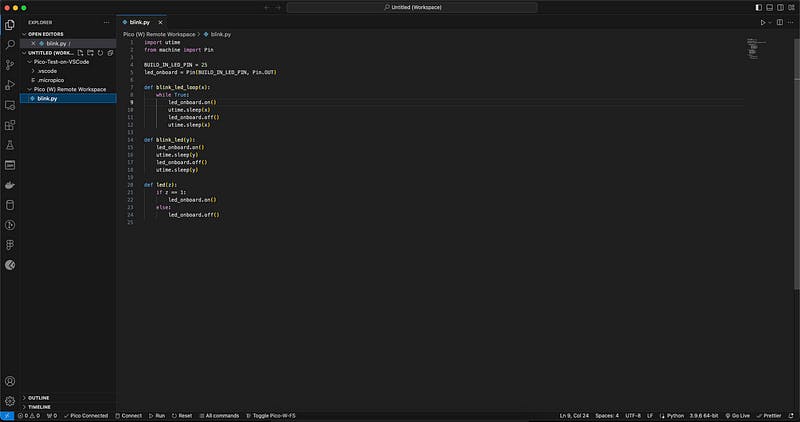
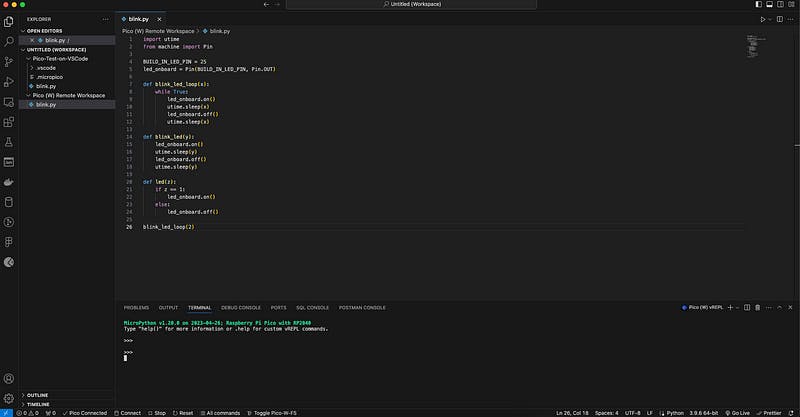
To run a code on Pico you can use “Run” action at the bottom of IDE or use Run commands option that we used to configure project and use a command called “MicroPico: Remote > Run Current file on Pico”.
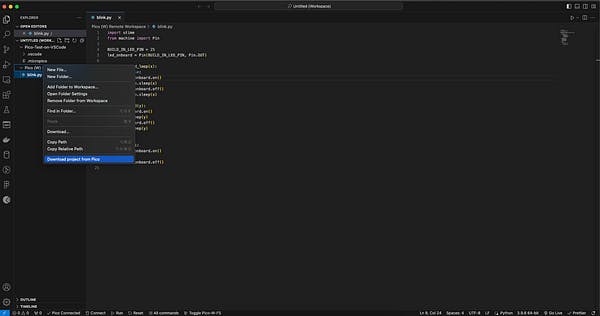
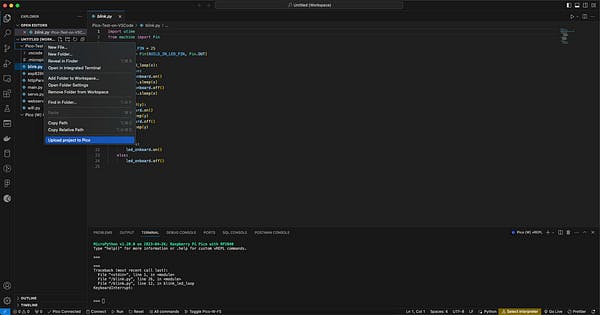
Also, you can sync your local files by “Upload project to Pico” or “Download project from Pico”.
There is a lot more stuff about using VS Code and MicroPico which I hope to write more about 😊✌️; But for now, you can see more about MicroPico settings on this link also use “MicroPico: List all Commands” to see all useful commands.
Also don’t forget to subscribe to my YouTube channel, I’m going to talk more about this stuff there 🤟